Custom Inflatable Design: How Your Idea Becomes a Giant Inflatable
A brand manager signs off on a rendering, production starts, and six weeks later a 10-meter character goes up at the venue with a face that looks slightly wrong and a stance that cannot hold a breeze. Most inflatable projects that disappoint are lost in the design phase, weeks before any fabric is cut. Inflatable design is where proportion, structure, material and branding are decided together, and it is the stage that determines whether the finished piece becomes a landmark or a lesson. At 360 Inflatable we have run that phase since 2006 across more than 60,000 projects, from one-meter tabletop pieces to 50-meter installations, all designed and produced under one roof at our 10,000-square-meter facility in Wenzhou. This guide explains what custom inflatable design actually involves, how the process runs step by step, and how to brief a factory so the first rendering is already close to right.
What is custom inflatable design?
Custom inflatable design is the engineering process that turns a brand idea, character or product into a buildable three-dimensional air structure. It covers the outer form, internal structure, material selection, print mapping and airflow system as one integrated plan, and it ends with production-ready files rather than just a picture.
A sketch shows what an inflatable should look like. Design determines whether it can exist. A giant figure that looks balanced on screen can tip once inflated, because air volume distributes weight differently than a rigid model suggests. A cartoon face that reads perfectly in a flat illustration will distort across curved panels unless the artwork is mapped to the inflated shape. Professional inflatable design resolves these questions before production: proportion under air pressure, panel and seam layout, stress points, blower specification, anchoring logic and color placement.
That is also why design sits upstream of everything else in our workflow. The same team that models your concept stays involved through printing, sewing and testing inside one facility, so design decisions are made by people who know exactly how the fabric will behave afterward.
By the end of the design phase you hold a concrete package, not a promise: multi-angle 3D renderings, confirmed dimensions, a material specification, a print layout with Pantone references, and the structural notes your venue or licensor may ask to review. Those documents are what production, shipping and installation all quote against.
The 5-step inflatable design process
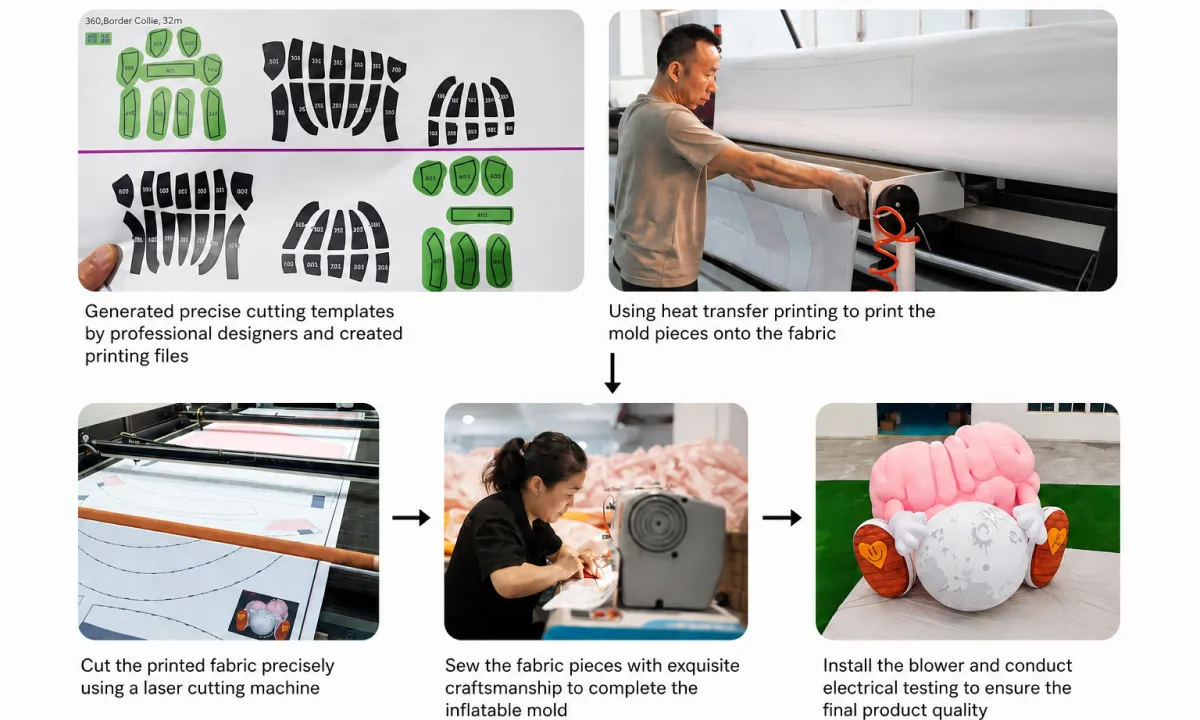
A professional inflatable design process runs in five steps: brief and requirements, sketch and concept development, 3D modeling with white-model verification, Pantone color matching and print design, then structural engineering and prototyping. Each step ends with a client confirmation before the next one begins.
- Brief and requirements. Everything starts with the use case: where the piece will run, how big it should be, how long each deployment lasts, how it travels and when you need it on site. These answers shape every later decision.
- Sketch and concept. Designers translate the brief into drawings that lock the silhouette, proportions and key details. For IP characters, this is where likeness is established and approved.
- 3D modeling and white-model verification. The approved concept becomes a production-scale 3D model, reviewed as an untextured white model from multiple angles so shape errors are caught before color enters the discussion.
- Pantone matching and print design. Colors are matched to Pantone references, and the artwork is mapped onto the inflated form panel by panel, so logos and gradients land where they should once the piece is pressurized.
- Structural engineering and prototyping. Engineers finalize seam layout, anchoring points, blower placement and internal airflow, then a sample or first article is built and inflated for physical verification before full production.
This staged approval chain is why our first-pass approval rate stays above 98 percent. Problems are solved at the cheapest moment to solve them, and you approve shape and color before any material is committed.
Design choices that make or break your inflatable
Five design decisions carry most of the risk in a custom inflatable: size and proportion, material selection, seam and load structure, airflow and blower design, and LED integration. Getting any one of them wrong surfaces later as instability, distortion, leakage or expensive rework.
- Size and proportion. Bigger is not automatically better. A 6-meter piece that fills a mall atrium can outperform a 15-meter piece that fights the ceiling, and viewing distance decides how much printed detail survives. Scale should follow the venue, and proportion should follow how far away the audience stands.
- Material matching. Fabric choice is a design decision, not a purchasing detail. Weight, surface finish, print fidelity and water exposure all pull in different directions. Our Oxford cloth vs PVC comparison breaks down how the two main fabrics behave and which scenarios each one suits.
- Seams and load structure. Every seam is a stress line. Anchor points, hanging loops and D-rings have to be designed into the panel layout with reinforcement behind them, because those points carry the entire load of the piece in wind.
- Airflow and blower design. Constant-air inflatables need blower capacity matched to their internal volume and leakage rate; sealed designs need weldable material and correctly placed valves. An underspecified blower shows up as sagging corners and soft extremities on site.
- LED integration. Lighting decided after production means visible cables and compromised seams. LED zones, power routing and controller access belong in the design files from the start, especially for pieces that run day and night.
These five choices also interact. A larger piece means more wind load, which changes the anchoring design, which changes the seam reinforcement. Choosing plush or mirror-finish material changes the print method, which changes how artwork should be prepared. Treating them as one system is what separates engineered inflatables from decorated balloons.
How to design an inflatable for your specific scenario
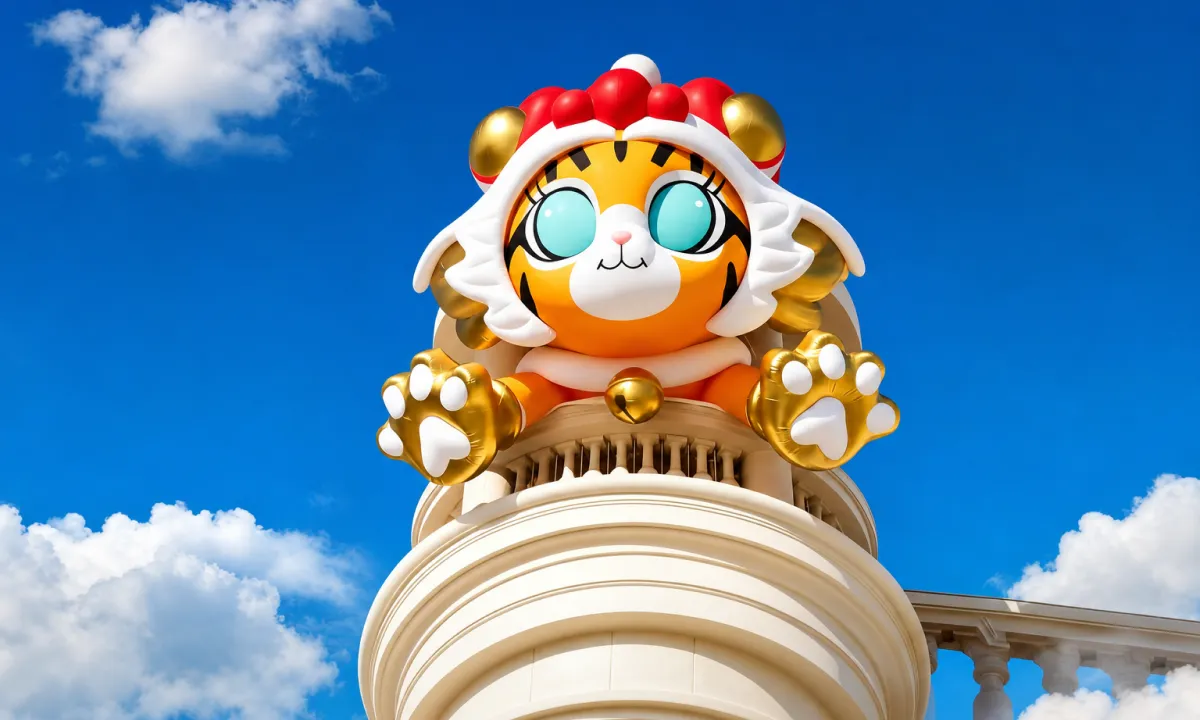
Design priorities shift with the deployment scenario. Outdoor landmarks are governed by wind and anchoring, floating pieces by sealing and ballast, IP mascots by likeness fidelity, and inflatable architecture by pressure engineering and safety. Each category starts from a different first question.
- Outdoor giant installations. Wind is the first design input. Shape, surface area, anchor point count and emergency deflation strategy all follow from the site's wind exposure. When we design custom giant inflatables for open-air sites, the anchoring plan is part of the first rendering, not something added later.
- Water and floating pieces. A floating inflatable is a marine object as much as a display piece. Sealed construction, ballast and mooring points are designed around the water body's current and wave behavior, and the visual form has to stay stable from every viewing angle onshore.
- IP mascots and characters. Here fidelity is the deliverable. Licensed characters go through white-model verification and Pantone sign-off because the licensor approves every proportion and color. Our custom inflatable mascot projects for brands like Disney and POP MART run through exactly this chain, which is how approval rates stay above 98 percent.
- Inflatable architecture and domes. Walk-in structures add human occupancy to the equation. Entrance and emergency exit placement, internal pressure stability, lighting and cable routing all have to work for crowds, and the design has to satisfy venue safety reviews before installation day.
If your project spans more than one of these categories, say so at the brief stage. A mascot that tours outdoor festivals needs both licensor-grade fidelity and outdoor-grade anchoring, and designing for both from day one costs far less than retrofitting strength into a character that was engineered for a showroom.
How to brief a manufacturer for the best design result
A good brief contains five things: reference images or artwork, target dimensions, the deployment environment, the timeline, and brand assets with Pantone codes. With these in hand, a factory can return a concept proposal and a 3D mockup within 24 to 48 hours.
- Reference images, sketches or artwork of the character, product or form you want. Even a phone photo of a rough sketch works as a starting point.
- Target dimensions, or at least the space the piece must fit: ceiling height, rooftop area, water surface or stage width.
- The deployment environment: indoor or outdoor, expected wind and rain, ground type, and how close the audience will get.
- The timeline: event date, shipping destination and any fixed installation windows.
- Brand assets: logos in vector format, Pantone color codes and any licensor style guides if the piece involves an IP.
What you do not need in the brief is technical knowledge of patterns, blowers or fabric. Translating your references into structure is the factory's job, and revision rounds are a normal part of the process: expect to review drawings, then a white model, then color renderings, with production starting only after your written approval.
Every successful inflatable starts as a conversation about where it will live and what it has to achieve. If you have a project in mind, send us your design brief — our team will respond with a concept proposal, a 3D mockup and a quotation within 24 to 48 hours, and your inflatable design can move from idea to installation on a timeline you can actually plan around.
FAQ
The concept proposal and 3D mockup arrive within 24 to 48 hours of your brief. The full design phase, including revision rounds and final approval, typically takes from a few days to two weeks depending on complexity and how quickly feedback comes back. Production after design approval runs 15 to 35 working days based on size and finish.