Inflatable Maintenance & Storage Guide: How to Make Your Inflatable Last
A custom inflatable is a reusable asset, not a single-event prop. With disciplined care, the same unit can serve five to eight seasons of commercial deployment; without it, we have seen clients lose a piece to mould or fabric fatigue after a single year in a damp warehouse. The difference is not luck. It comes down to five habits: cleaning before storage, drying completely, packing correctly, controlling the storage environment, and maintaining the blower. This guide sets out the maintenance and storage protocol we recommend to every client who buys a giant inflatable, mascot figure or event structure from us, based on twenty years of manufacturing and post-sale support.
Why maintenance decides how long your inflatable lasts
The materials used in professional inflatables — Oxford cloth, PVC, PU-coated fabrics and plush composites — are engineered for repeated inflation cycles. What shortens their life is almost never normal use. It is what happens between events: trapped moisture breeding mould, UV exposure degrading coatings, repeated folding along the same crease lines, and rodents or sharp objects in storage. Industry field data shows commercial inflatables stored outdoors without cover can lose 30 to 50 percent of material strength within twelve months, while a properly stored unit shows almost no measurable degradation over the same period.
The cost logic is simple. A large custom piece represents a significant one-time investment, and every additional season of use cuts the effective cost per deployment. For rental operators, brand teams and venues that redeploy the same asset across multiple sites, maintenance is the highest-return work you can do on the product.
Routine cleaning: after every deployment, not once a year
Never store a dirty inflatable. Dirt, body oils, food residue and pollution left on the surface stain permanently and accelerate coating breakdown. The correct routine takes under an hour for most pieces:
- Deflate partially so the surface is workable but panels are not collapsed into folds.
- Wipe the entire surface with a soft cloth or sponge and a neutral soap solution or mild detergent, working in sections.
- Spot-treat stubborn marks with a cleaner formulated for PVC or coated fabrics — test on a hidden panel first.
- Rinse cloths frequently so you are lifting dirt off, not spreading it around.
- Pay extra attention to ground-contact panels, seams and high-touch areas.
Cleaning agents to avoid
Do not use bleach, chlorine-based products, solvents such as methyl ethyl ketone, or abrasive pads. Bleach weakens sewing threads; solvents attack the PVC and PU coatings and make the material brittle over time. For plush-surface inflatables, vacuum the pile first, then clean with minimal moisture and comb the pile flat while drying. If your piece has LED modules, disconnect power before any wet cleaning and keep water away from connectors and controllers.
Drying: the single most important step before storage
Moisture is the primary cause of inflatable failure in storage. Even a small amount of dampness trapped in a fold will produce mould, mildew odour and seam degradation within weeks. Our standard: after cleaning, keep the unit inflated or spread out in a ventilated, shaded area until every surface is completely dry to the touch, then check the areas people miss — inner folds, seam channels, zipper flaps, the blower tube and any internal chambers. Running the blower for 20 to 30 minutes with vents open helps drive out interior humidity. Avoid using direct summer sun as a drying shortcut for extended periods; UV exposure degrades printed surfaces and coatings faster than most owners expect.
Inspection and small repairs before packing
Every takedown is an inspection opportunity. Check the unit while it is still inflated, because leaks and weak seams are far easier to find under air pressure.
How to find a slow leak
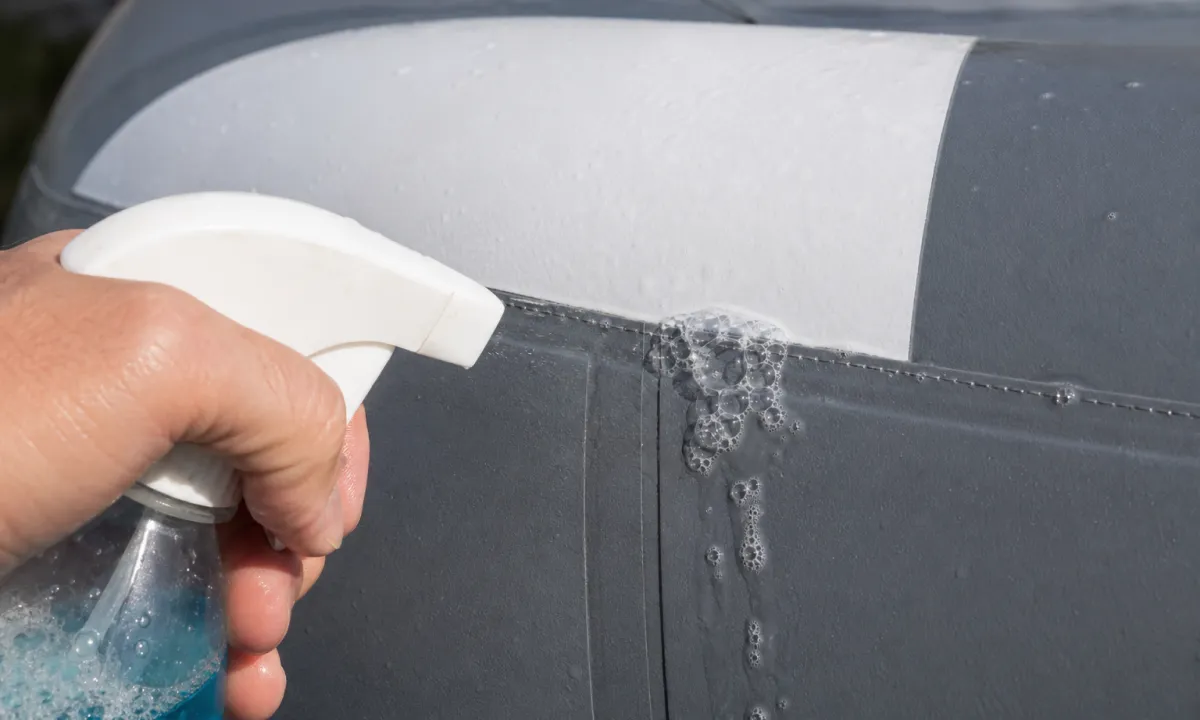
If a section is not holding shape, spray soapy water over seams, valve stems, zipper lines and blower connections — a persistent stream of bubbles marks the leak. In quiet conditions you can also listen for hissing or run the back of your hand slowly across the surface to feel escaping air. Mark any find with a waterproof marker before deflating.
What a proper repair kit contains
Keep a repair kit stored with each inflatable: fabric and PVC patches matching your unit's material, compatible adhesive, a small pressure roller, scissors, cleaning wipes and a waterproof marker. Small punctures and cuts under a few centimetres are a straightforward field repair: clean and dry the area, apply adhesive, position the patch, roll firm, and allow the full cure time — typically 24 hours — before re-inflating or packing. Seam separations, damage near anchor points and any tear on a structural panel should go back to the manufacturer; on our side we restitch and reinforce these rather than surface-patch them, because anchor and seam zones carry load.
Deflation and packing: fold or roll?
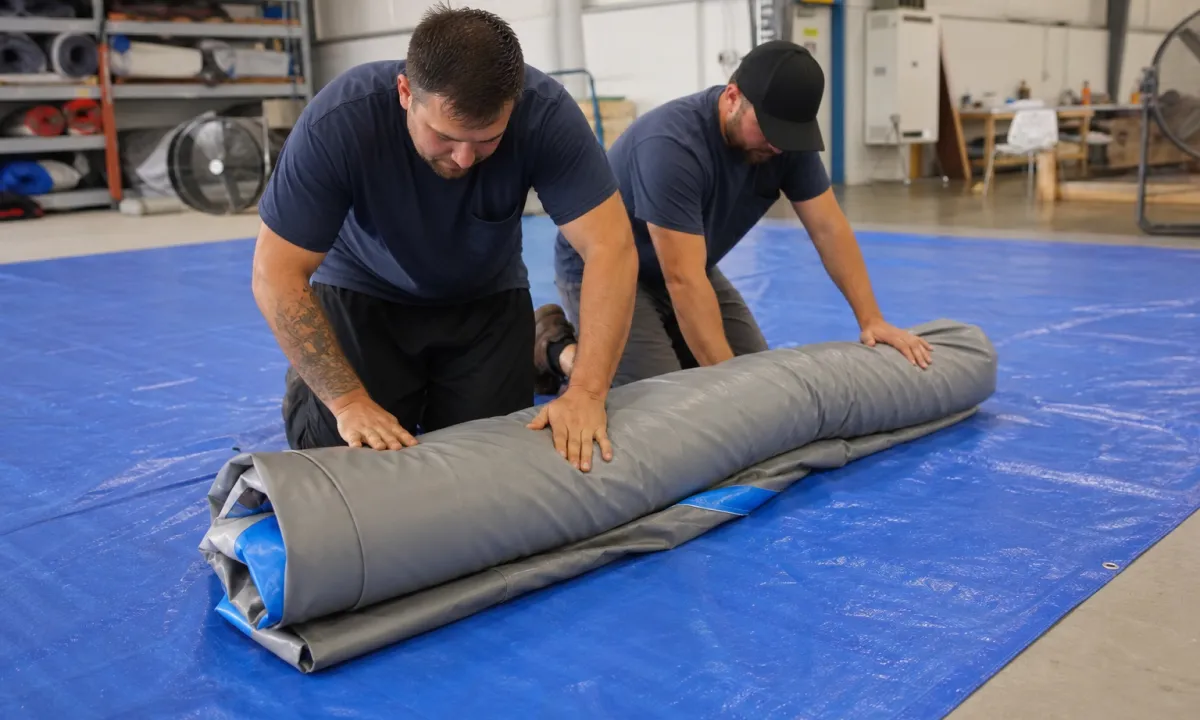
Deflate fully with all vents, zippers and ports open, and walk the remaining air out toward the blower tube. Always pack on a clean tarp, never directly on asphalt or gravel, and keep the printed faces folded inward so they never contact the ground.
On the fold-versus-roll question: rolling is gentler on the material because it distributes stress instead of concentrating it. Repeated folding along identical lines creates permanent creases that become the first points to crack and leak. For large pieces that cannot be rolled in one motion, use the hybrid method: fold the sides in to a manageable width, then roll from the closed end toward the air ports so trapped air escapes as you go. If a unit must be folded for crate dimensions, vary the fold positions each time it is packed.
Storage environment: the specification that matters
The table below summarises the storage conditions we specify to clients, and what each one prevents.
| Condition | Target | What it prevents |
|---|---|---|
| Humidity | Dry, ventilated space; add desiccant packs in the bag | Mould, mildew, seam adhesive failure |
| Temperature | Stable, moderate; avoid unheated sheds with freeze cycles | Coating brittleness and cracking |
| Light | No direct sunlight; opaque bag or crate | UV fading and material strength loss |
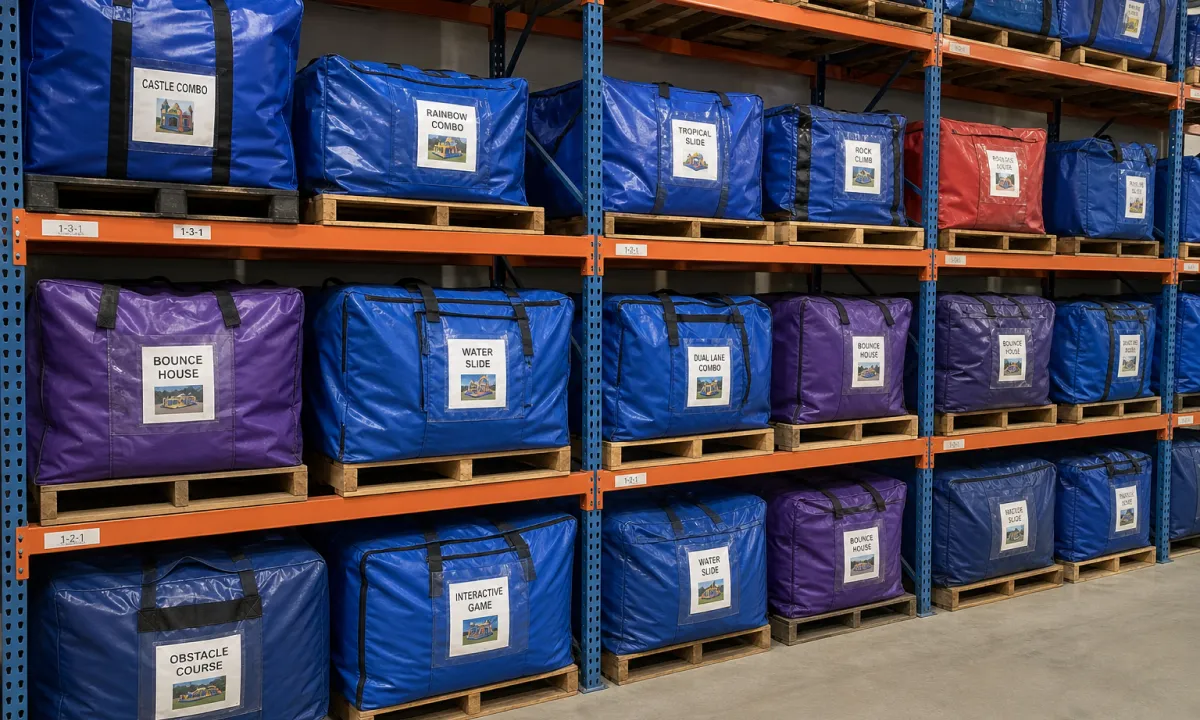
| Position | Off the floor on pallets or shelving | Ground moisture, flood damage, pests |
| Load | Nothing heavy stacked on top; max two soft units | Crush creases and deformation |
| Hardware | Stakes, weights and tools bagged separately | Punctures from metal stored against fabric |
Rodents deserve a specific warning: mice will chew through fabric and nest in folded inflatables. Elevate the packed unit, use sealed bags or bins where possible, and consider traps or repellents in the storage area. For long-term storage, check the unit every three to four weeks — open the bag, look and smell for damp or mildew, and re-dry immediately if you find any. A stored inflatable is not a store-and-forget item.
Blower maintenance: half of all "inflatable failures" are blower failures
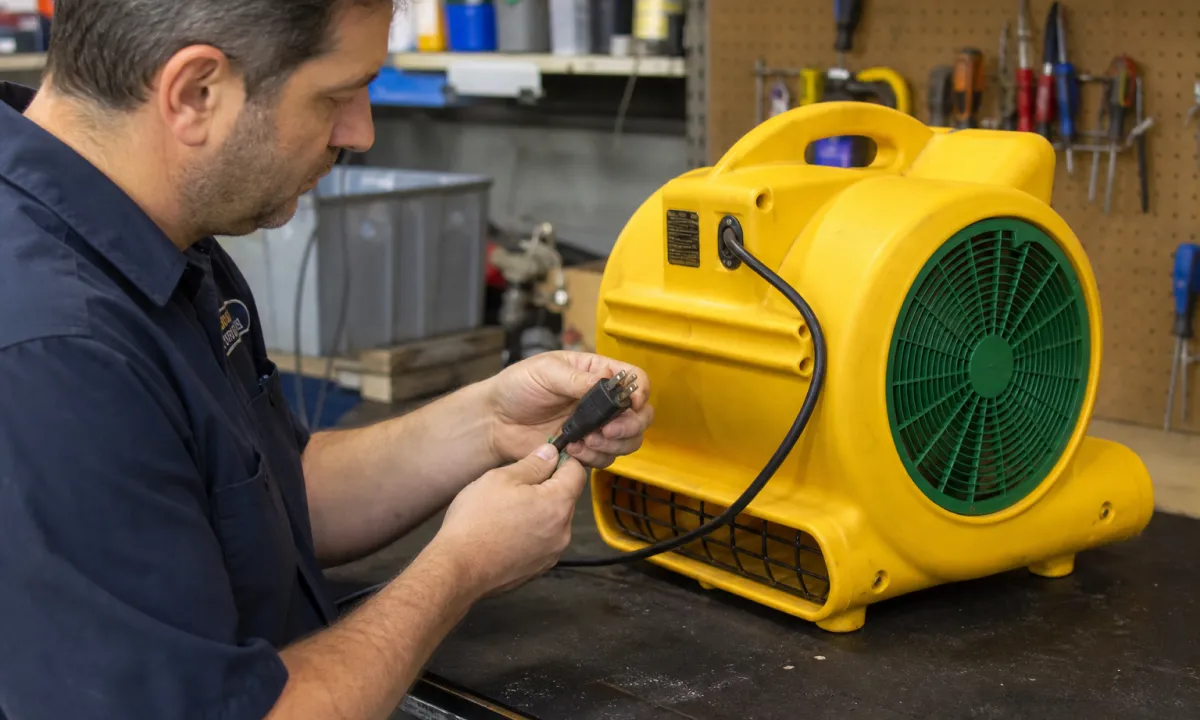
When a client reports that a unit will not stand up, the blower is the first thing we ask about. Treat it as seriously as the fabric:
- Before each use, check the intake and outlet for leaves, dust and debris, and confirm the impeller spins freely.
- Inspect the power cord and plug for wear; replace damaged cords rather than taping them.
- Use extension cords of adequate gauge and keep runs short — undersized cords starve the motor and reduce air output.
- Keep the blower dry in operation and in storage; store it in its own dry container, never wrapped inside the damp inflatable.
- Clean or replace intake filters on schedule, and give continuously running units a rest and inspection interval.
- For commercial duty, have a backup blower on site; it is the cheapest insurance in the industry.
A seasonal maintenance calendar
For seasonal assets — holiday displays, festival pieces, inflatable mascots used in campaign windows — the work clusters at two points. At end of season: full clean, full dry, leak test, repairs completed and cured, pack correctly, label the crate, store hardware separately. At start of season: unpack, inspect for storage damage and pests, test-inflate for at least 30 minutes, soap-test previous repairs, wash and dry before the first event. Log the dates, repairs and hours of use for each unit; the log tells you when a piece is approaching retirement before it fails at a live event.
When to repair, when to come back to the factory
As a rule of thumb, field-repair localised damage when the material is still supple and the fix costs a fraction of replacement. Return the unit to the manufacturer when you see seam separation across multiple panels, failure at anchor or D-ring points, internal baffle damage, LED system faults, or coating that cracks when folded. We support the inflatables we build across their whole service life — replacement panels printed from the original files, re-stitching, blower replacement and hardware refits — which is usually faster and cheaper than clients expect, and far cheaper than remaking the piece.
Keep your inflatable asset working season after season
Maintenance is not complicated; it is consistent. Clean after every use, dry completely, roll rather than crease, store dry and off the ground, and look after the blower. If you want a maintenance schedule written for your specific unit, or need repair support for an existing piece — including inflatables made elsewhere — send us photos and dimensions and our team will respond with an assessment and a plan. As a factory with 20 years of production and after-sales experience, we would rather help you extend the life of your current asset than sell you a replacement you did not need.
FAQ
Wipe the unit down after every deployment and do a deep clean before any long-term storage. A quick surface clean after each event prevents dirt from bonding to the coating; the pre-storage deep clean plus complete drying is what actually protects the material during the months it sits packed.