How to Tie Down Inflatables: Anchoring Methods for Grass, Concrete and Rooftops
To tie down an inflatable, drive ground stakes on grass, set sandbags or water weights on hard surfaces, and run tether lines on anything tall or top-heavy — using every anchor point the piece has, not just the corners. That's the short answer. The longer answer depends on your surface, your wind exposure and the size of the piece, and getting any of the three wrong is how inflatables end up tipped over, torn, or airborne across a parking lot. We build and ship large custom inflatables to 40+ countries, and this guide is the same anchoring logic we send with every piece: which method for which surface, how much weight per anchor point, and the wind speeds at which you should deflate.
What Holds an Inflatable Down? Stakes, Ballast and Tether Lines
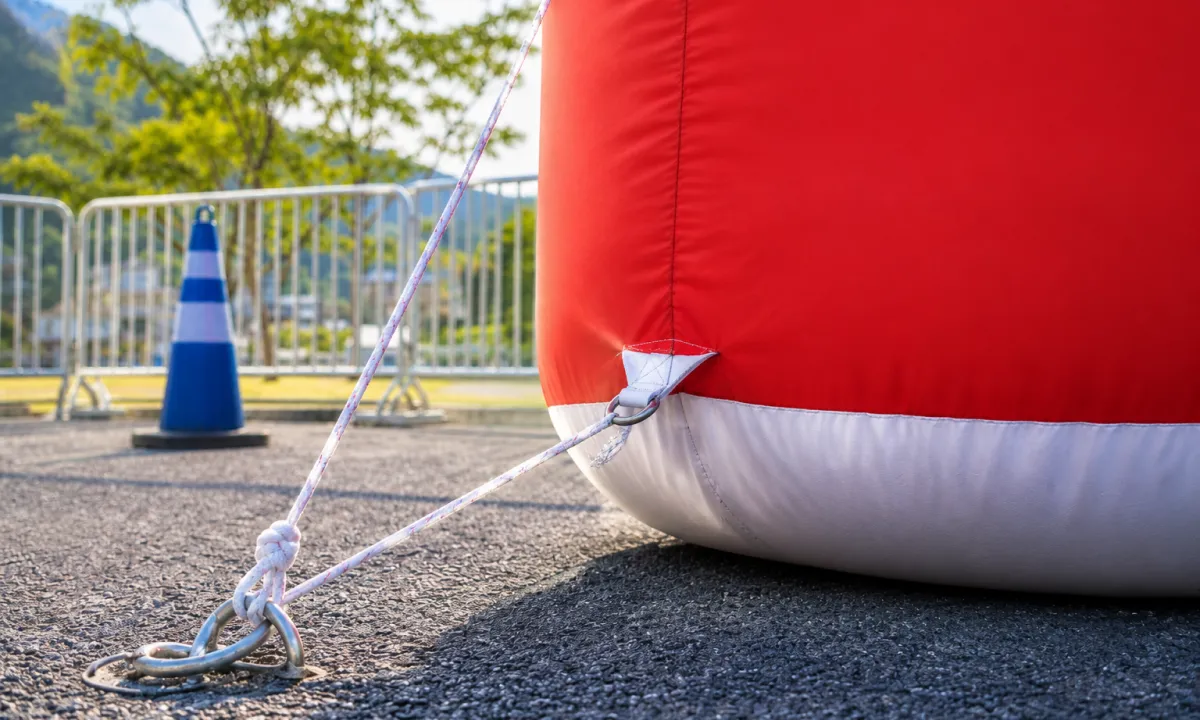
Every inflatable we ship leaves the factory with D-rings or tether loops sewn into the base and stress points. What you connect to those points depends on where the piece will stand. Three components do all the anchoring work:
| Method | How it works | Best for |
|---|---|---|
| Ground stakes | Steel stakes driven through tether points into the soil | Grass, compacted soil, outdoor event grounds |
| Ballast weights | Sandbags or water weights loaded at each anchor point | Concrete, asphalt, indoor floors, rooftops |
| Tether lines | Ropes or straps from D-rings to stakes, ballast or fixed structures | Tall or top-heavy pieces; added stability in wind |
Stakes and ballast resist uplift and sliding; tether lines resist tipping. Most inflatables need a combination, and the general principle holds across every installation we advise on: every anchor point should be loaded, because an empty D-ring is a potential failure point. An inflatable standing on four loaded points with two empty D-rings still has two weak spots, and the right gust will find them.
How to Tie Down Inflatables on Grass or Soil
Grass is the easiest surface to anchor on, and the one where technique matters most. This is the sequence we put in our own installation instructions:
- Position the piece before inflation. Choose flat ground, clear rocks and debris from under the base, and set the final orientation. Repositioning after inflation is where tethers get dragged out of alignment.
- Inflate fully first. An under-inflated structure shifts under load and stresses anchor points unevenly. Anchor only once the form is correct.
- Drive steel stakes at every base anchor point. Use stakes 30–45 cm (12–18 in) long, driven at a 45-degree angle pointing away from the inflatable. The angled drive gives significantly more pull-out resistance than driving straight down — in soft or sandy soil, go longer and add ballast as backup.
- Run tether lines from the upper D-rings. Connect them to stakes as well, keeping lines taut but not so tight that they distort the shape or lift base corners off the ground.
- Tug-test every connection. A thirty-second check at setup prevents the slow loosening that shows up two hours into an event.
One seasonal note: if the ground freezes in your area, set stakes before it hardens. Driving steel into frozen soil bends stakes and gives a false sense of holding power.
How to Weigh Down Inflatables on Concrete, Asphalt and Indoor Floors
On hard surfaces, stakes are off the table and ballast does all the work. Use sandbags or purpose-built water weights rated 25–50 kg (55–110 lbs) per anchor point. For large commercial pieces in open, exposed locations — parking lots, festival grounds, rooftops — plan for 50 kg (110 lbs) or more per point. Water weights are the practical choice for touring setups: they are lightweight to transport while empty and can be filled with water directly on site.
Indoors, the rules tighten. Never stake or drill into indoor flooring, use ballast only, and on elevated floors confirm the load capacity with the venue before placing heavy weights. For the complete deployment sequence around anchoring — site prep, blower connection, inflation and deflation — our large inflatable installation guide covers each step.
| Surface | Anchoring method | Minimum per anchor point |
|---|---|---|
| Grass / soil | Steel stakes, 30–45 cm (12–18 in), at 45° | One stake per point plus tethers |
| Concrete / asphalt | Sandbags or water weights | 25–50 kg (55–110 lbs) |
| Open, exposed sites | Heavy ballast, doubled where possible | 50+ kg (110+ lbs) |
| Indoor floors | Ballast only, no staking | 25–50 kg (55–110 lbs); confirm floor rating |
| Rooftops | Ballast plus structural tie-offs | See next section |
The single most common failure mode in our after-sales records is under-ballasting on hard surfaces. A sandbag that feels heavy when you carry it tells you little about its real holding power. Once a loaded tether line pulls on it at an angle, the actual resistance is far lower than most people expect. When in doubt, add weight.
How to Secure Inflatables on a Rooftop
Rooftop installations combine the worst of both worlds: no soil for stakes, and wind that accelerates as it crosses the parapet. Ballast alone is rarely enough at height, so rooftop anchoring works as a system:
- Tie off only to structural elements rated for the load. Never anchor to electrical conduit, lightweight railings, vents or anything with sharp edges that can cut a tether line under tension.
- Pad every contact point between a line and the building — a moving rope saws through itself on a concrete edge within a day.
- Keep ballast as the second line of defense at base anchor points, so the piece cannot slide even if a tether goes slack.
- Stay back from the roof edge. An inflatable that tips near the parapet becomes a falling-object risk for people below, which changes the liability picture entirely.
- When in doubt about a tie-off point, ask the building owner. We make the same request of our own clients before any elevated installation, and building management will usually confirm which elements are structural.
How Much Wind Is Too Much for an Inflatable?
Wind is the primary risk factor for any deployed inflatable, and the honest answer is that the limit arrives earlier than most people expect. The practical operating limit for most large cold-air inflatables is around 30 km/h (15–18 mph) — a breezy afternoon, not a storm. These are the thresholds we work to:
| Wind speed | Action |
|---|---|
| Under 25 km/h (15 mph) | Normal operation; check tether lines periodically |
| 25–35 km/h (15–22 mph) | Increase monitoring; check anchor loads; add backup tether lines to fixed points |
| Above 35 km/h (22 mph) | Deflate and secure the piece |
| Lightning forecast | Deflate immediately, regardless of wind speed |
Properly engineered pieces with full anchoring hold more than the baseline. Our sports tunnels, for example, are rated to 38 km/h (24 mph) with every anchor point loaded to specification — but that rating assumes exactly that: every point, correctly loaded. A rated inflatable on a half-finished tie-down job performs worse than a basic inflatable anchored properly.
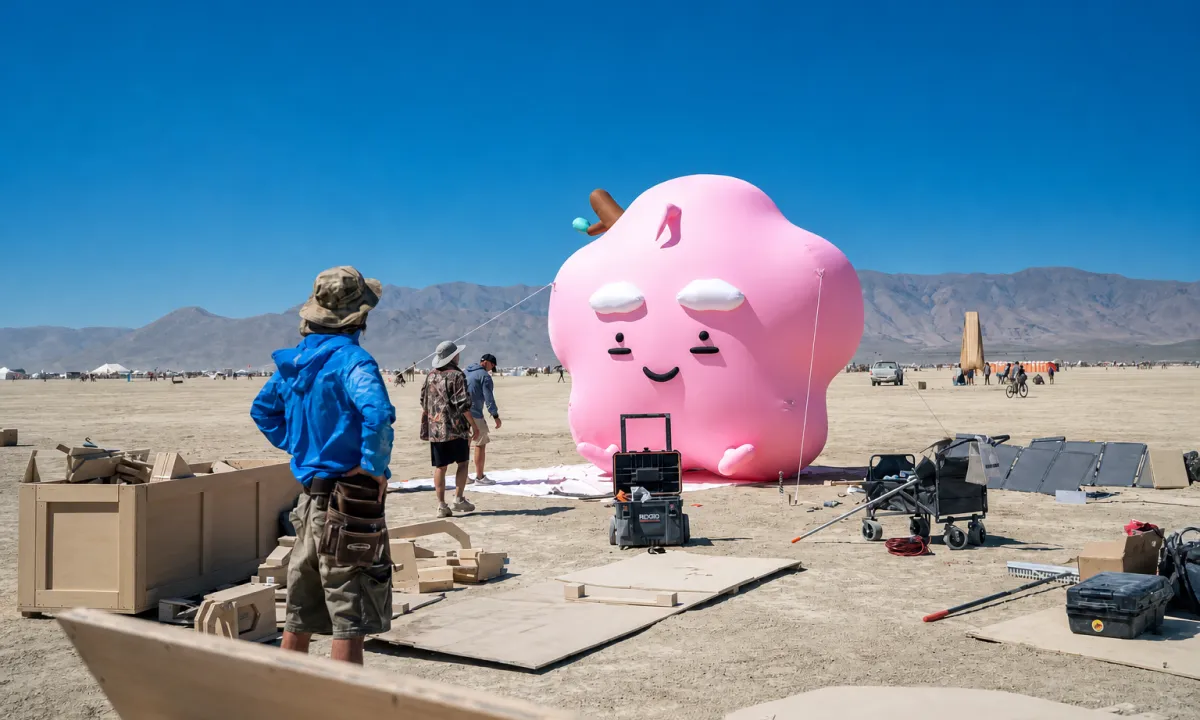
For permanent or semi-permanent outdoor installations measured in weeks or months, anchoring design should follow the wind load specification for the installation's geographic location. For festival-scale art installations and large commercial deployments in exposed locations, have a structural engineer review the anchoring plan — this is standard practice, and any serious manufacturer will support it.
Anchoring Large Commercial Inflatables: What Changes Above 4 Meters
Wind pressure scales with surface area, which means a 6-meter (20 ft) inflatable faces far more than double the load of a 3-meter (10 ft) one. Several things change as pieces get taller:
The safety zone grows. The clear footprint should equal at least the square of the piece's tallest dimension. Above 4 meters (13 ft), add a buffer around the base equal to half the height — space for tether management and for keeping bystanders clear if anything shifts.
Blower sizing becomes part of anchoring. An under-powered blower leaves the form soft, and a soft form loads anchor points unevenly in gusts. These are the specifications we supply by piece height:
| Inflatable height | Blower rating | CFM range | Power draw |
|---|---|---|---|
| Under 2 m | 0.75–1.0 HP | 800–1,200 CFM | ~7 amps |
| 2–4 m | 1.0–1.5 HP | 1,200–1,430 CFM | ~13 amps |
| 4–6 m | 1.5–2.0 HP | 1,430–1,700 CFM | ~13.5 amps |
| 6 m and above | 2.0–3.0 HP | 1,700–1,850 CFM | ~15 amps |
Redundancy enters the design. Long structures over 20 meters (65 ft) — our custom inflatable tunnels are the typical case — ship with dual blowers, so a single blower failure doesn't collapse the structure onto its tether system. Power planning scales the same way: a generator rated at minimum 2,000 watts per blower, and commercial-grade extension cords for any run over 15 meters.
Standards start to apply. In the event and rental industry, EN 14960 is the reference standard for commercial inflatables, and it defines expectations for anchor point quantities and anchoring strength. Event organizers and venues increasingly ask for compliance documentation before approving an installation. If your piece is headed for a public event, confirm the venue's requirements before production starts — anchor point count and placement can be engineered into the piece itself.
Anchoring Mistakes That Bring Inflatables Down
Every item on this list comes from real deployments, including some reported back to us by clients after a failure. Each one is preventable:
- Under-ballasting on hard surfaces. The most common failure mode we see. A sandbag that seems heavy on the ground resists far less once a tether line pulls on it at an angle. On exposed sites, 50+ kg (110+ lbs) per point is the safe baseline.
- Tying to movable objects. If you can lift or shift an object yourself, it will not hold an inflatable in wind. Fixed points only — building tie-offs, rated structures, or properly driven stakes.
- Skipping the pre-inflation inspection. A compromised D-ring or a lifting repair patch is visible on flat fabric and invisible once the piece is four meters in the air. Inspect at every deployment.
- Running blowers on domestic extension cords. Blower motors draw sustained high amperage, and a thin household cord builds heat. Use commercial-rated cords matched to the blower's draw.
- Leaving the piece unmonitored as weather changes. Conditions that were acceptable at 9 a.m. can turn marginal by noon. Assign someone to check anchor loads whenever wind is in the 25–35 km/h (15–22 mph) range.
Anchoring is the part of a deployment that gets the least attention in planning and causes the most visible failures in the field. Every inflatable we ship includes an anchoring kit and instructions sized for the actual piece — and if you share your deployment site with us (surface type, wind exposure, indoor or outdoor), we spec the anchoring plan during production rather than leaving it to installation day. Planning a large outdoor piece? Tell us about your site and the piece you have in mind, and we will come back with anchoring requirements alongside the quote.
FAQ
Load every anchor point with stakes on grass or ballast on hard surfaces, add tether lines on tall or top-heavy pieces, and deflate when sustained wind passes 35 km/h. Most blow-aways trace back to empty anchor points or under-weighted ballast, not to unusually strong wind.